


DIY Hot Dog Bar

Brad turned 30 a couple of weeks ago while we were in Minnesota. We had a quiet dinner celebration there before returning home to Colorado. With the help of our friends, I was able to orchestrate an almost surprise party. I say "almost" because he knew people were coming over but had no idea it was to celebrate his birthday. He spent the day golfing with a friend and when they returned, we were ready to welcome him home with balloons, noise-makers, and the sound of our lovely voices singing happy birthday. It was really great watching these people, who have known Brad since middle school or high school, show him so much love after all these years. And what better way to celebrate than with a DIY Hot Dog Bar?

This was one of the most fun parties we've thrown for a couple of reasons: 1) who doesn't love hot dogs and lots of delicious toppings, and 2) it was easy on the hostess (that would be me). To make this even easier for all of you to do this yourselves, I've put together some tips on how to host your own DIY Hot Dog Bar!
1. Choose your fixings.
To avoid making things too confusing for you or your guests, think of three or four great topping combinations that you can offer your guests and make your shopping list based on that. I chose to go with a classic chili dog, a Chicago dog, and a slaw dog. From there, I ended up with the following list of ingredients:
- chili
- corn chips (we used the old-school classic: Fritos)
- shredded cheddar cheese
- guacamole
- diced onions
- pickle spears
- tomato slices
- mustard
- hot peppers
- sweet peppers
- coleslaw
- deli mustard
- ketcup
This was more than enough and offered guests a range of combinations to choose from.

2. Purchase enough hot dogs & buns.
Your guests will likely have more than one hot dog. Plan for each person to have 2 or 3 and try to buy hot dogs that are all-natural. We used Applegate beef hot dogs because they are delicious and we can feel good about serving them to adults and kiddos alike.
3. Give some direction.
Yes, it seems simple enough to build your own hot dog, but guests appreciate knowing what to do rather than awkwardly questioning. Plus, it gives you a great excuse to use that chalkboard you made but don't use enough (guilty!).
Also, be sure to label what is super spicy. I had spicy peppers and not-so-spicy peppers and made sure to tell guests which was which. Having a little sign next to each would have been much easier.
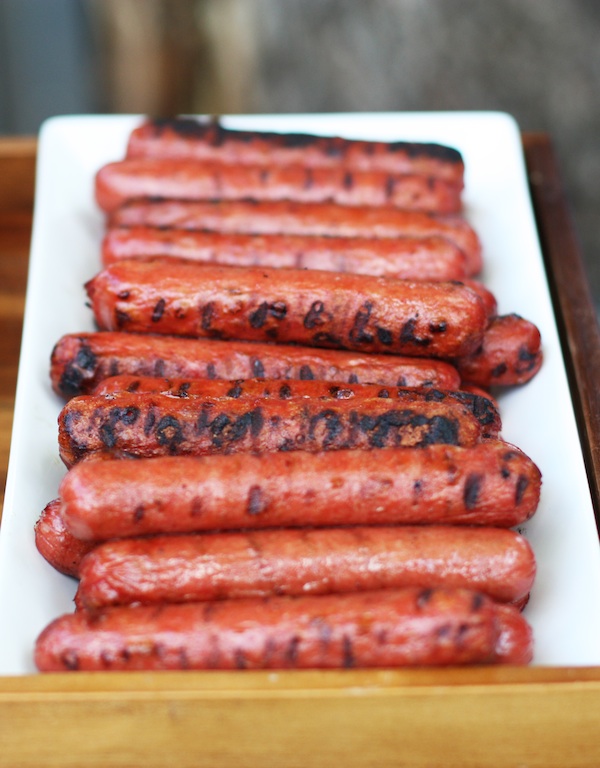
4. Fire up the grill.
Don't mess with cooking hot dogs inside. Save yourself the stress of creating extra dishes and unwanted heat by grilling the dogs. Light up a charcoal grill as soon as guests arrive or preheat your gas grill about 10 minutes before you want to serve.

5. Set up the bar.
Use a long table if you have one and set all the plates and fixings up in order:
- plates, napkins, plasticware
- hot dogs & buns
- fixings
- salads and sides
Round out the meal by asking guests to bring a light, fresh side dish like this tomato & peach salad with herbs and almonds...

And that's all there is to it! We followed our DIY hot dog bar up with an outdoor movie: Willie Wonka & the Chocolate Factory. It was a great night full of child-like fun to help all of us 30-somethings remember not to take life too seriously.
And yes, there was cake...

Happy birthday to my sweet husband. I hope your heart and belly were both filled to the brim today! ❤️


